How to Define Employee Skills, Tags, and Teams
In EZShift, you can classify each employee by several categories to make scheduling more accurate and automated:
- Role and levels (within each role)
- Employee Tags (clasifications)
- Team Assignment
You can access this setup screen via:
Home Page → System Settings → Basic Employee Settings


This screen allows you to define the classification options that will be available when setting up employees.
It is divided into three main sections:
- Skills and Levels
- Employee Tags
- Teams
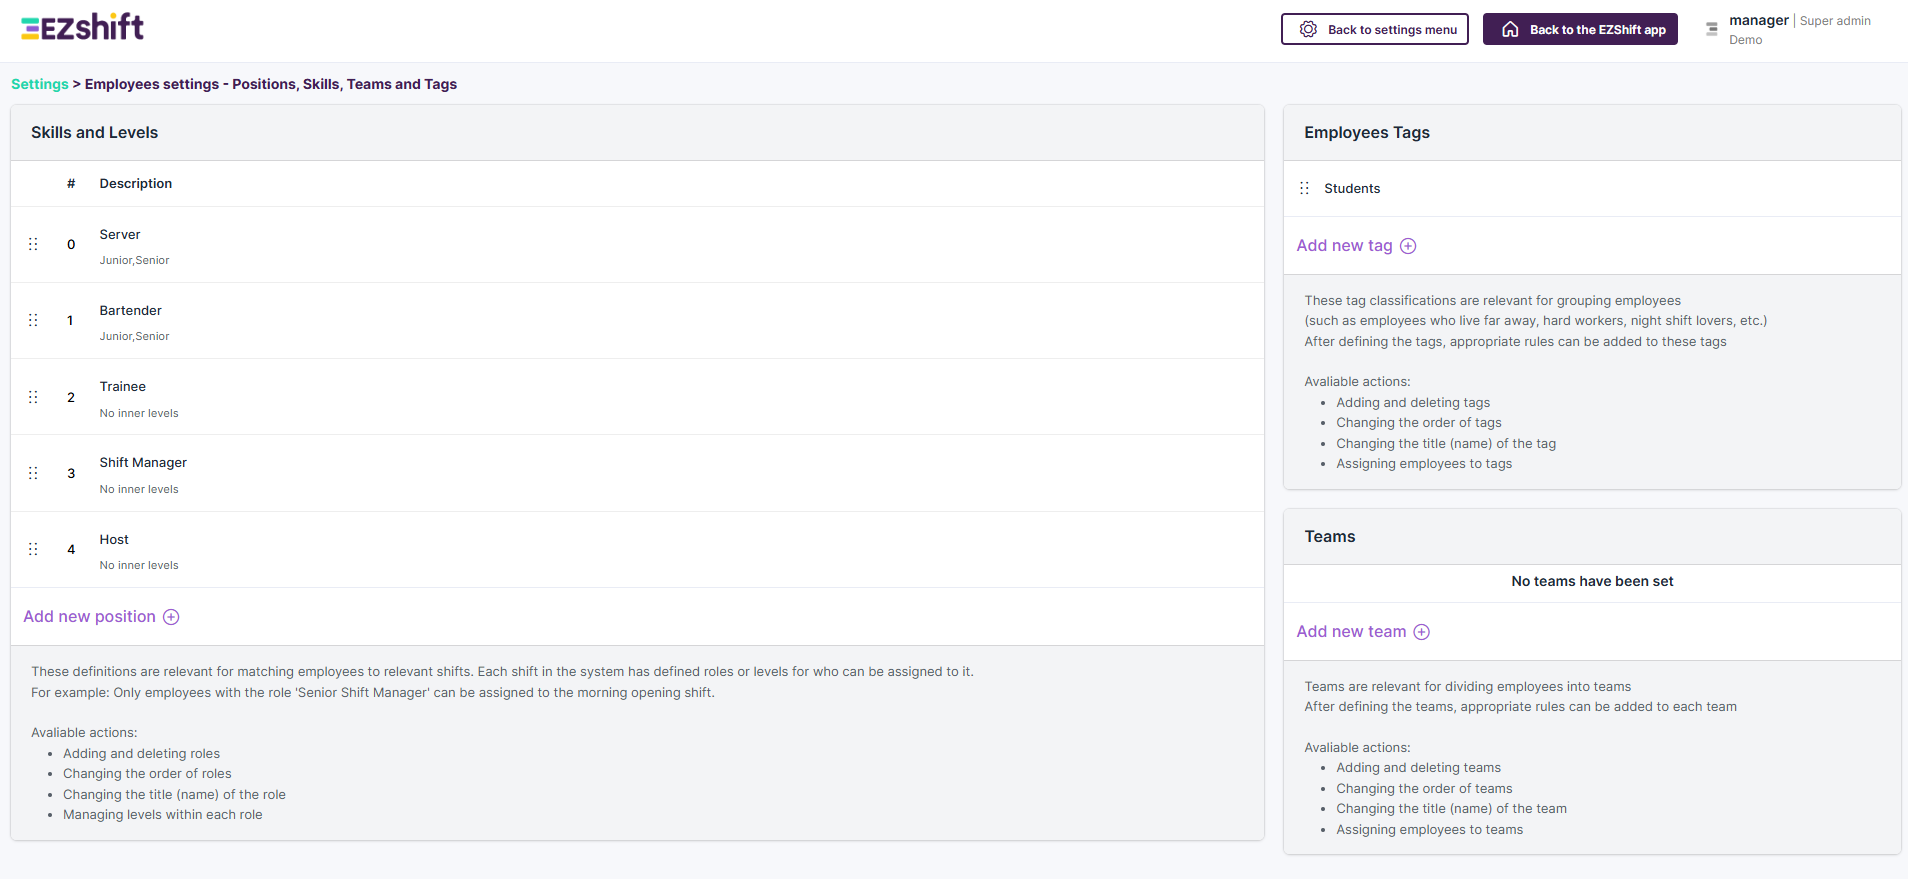
1 - Skills and Levels
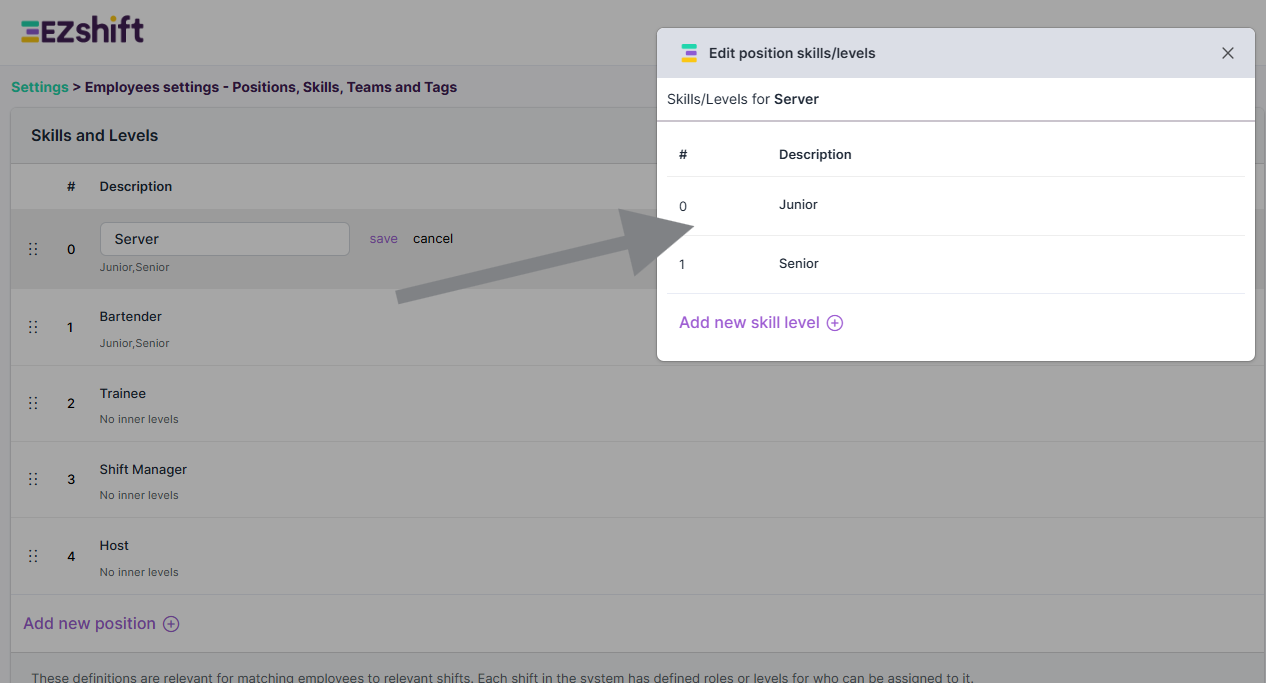
Skills are used to match the required position in each shift with the right employees.
- In the employee profile, you can assign each employee to one or more positions.
- Each skill can be marked as a primary or secondary assignment for scheduling purposes.
- You can define levels for each skill (for example: “Junior”, “Senior”, “Expert”).
By default, each employee can have one level per role. In advanced settings, you can allow multiple levels.
Advanced Tip
You can use Levels to indicate an employee’s skill or experience level (e.g., New, Experienced, Strong/Weak).
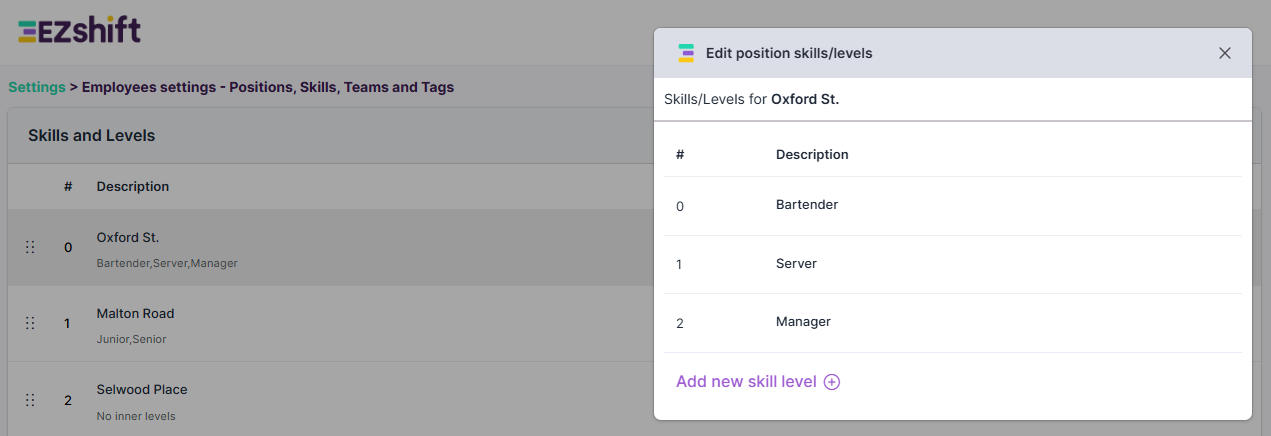
You can also repurpose Roles and Levels creatively. For example, if you manage a coffee shop chain with multiple branches on a single schedule, you could use the Skill field to represent the branch name,
and the Levels field to represent the functions in that branch (Barista, Waiter, Cashier, etc.).
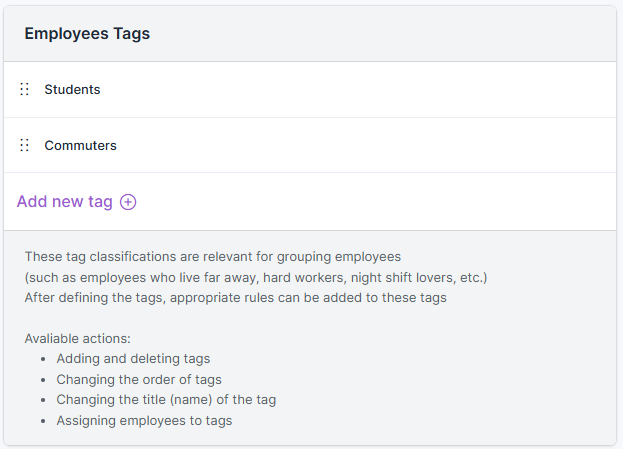
2 - Employee Tags
Employee Tags let you create a list of text-based classifications.
In each employee profile, you can assign multiple tags. Tags by themselves do not affect scheduling - their value comes when combined with smart rules.
Here are a few examples:
Suppose some employees live far from the workplace. You might want the system to consider this when scheduling:
- After an evening shift, ensure they get a longer rest period due to their long commute.
- Avoid scheduling them for late-night shifts when no public transportation is available.
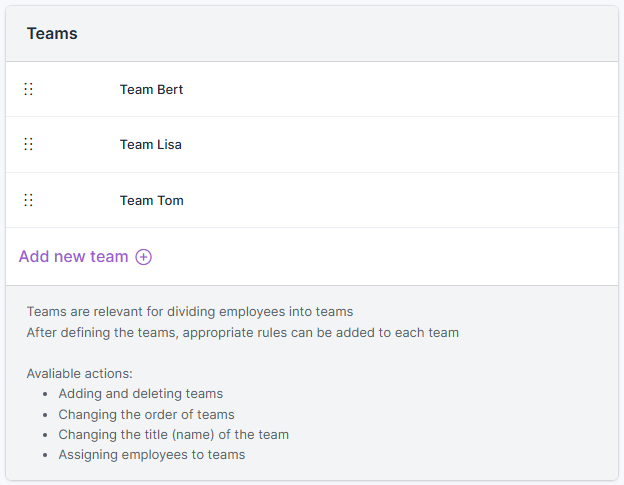
3 – Teams
Teams are another way to group employees in the system.
Each employee can belong to one team only (single-select).Teams can be used in several useful ways:
- Filter employees on the schedule board.
- Apply specific rules to each team.
- Set up a multi-level approval process for absence requests, e.g., an employee’s vacation request is first approved by their Team Leader, and then passed to HR for final approval.
- To manage attendance control by team, where each Team Leader oversees attendance for their group.
Tip
Setting up Roles, Tags, and Teams thoughtfully will make your scheduling smarter,your rules more flexible, and your team management more efficient.

